Knowledge Forum
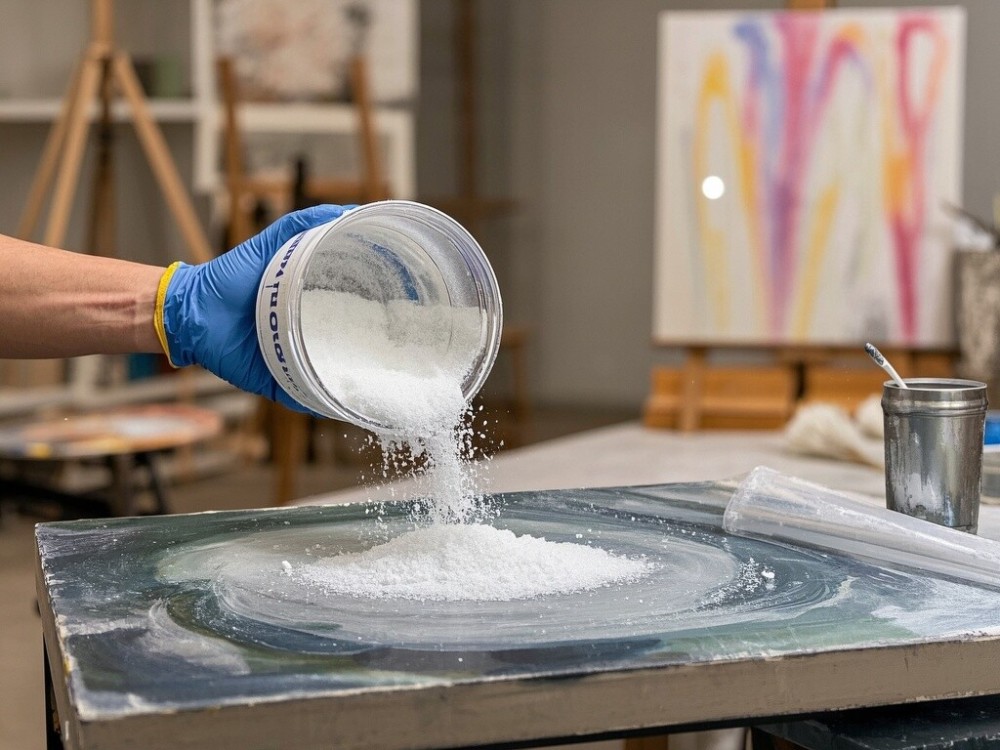
1. First, Why Choose Magnesium Oxide Cement for DIY?
Before diving into the process, let’s highlight the key advantages of magnesium oxide cement:
1. Easy to Shape: It has good fluidity, fitting various molds perfectly—even for complex textures.
2. Low Cost: Raw materials are budget-friendly; around $15 buys enough to make 3-5 medium flower pots.
3. Eco-Friendly & Durable: Formaldehyde-free, with high hardness (reaching 80% of traditional cement strength after curing). It’s also waterproof and mildew-resistant, making it suitable for outdoor use.
4. Lightweight: 30%-50% lighter than traditional cement, so it’s easier to carry and place.
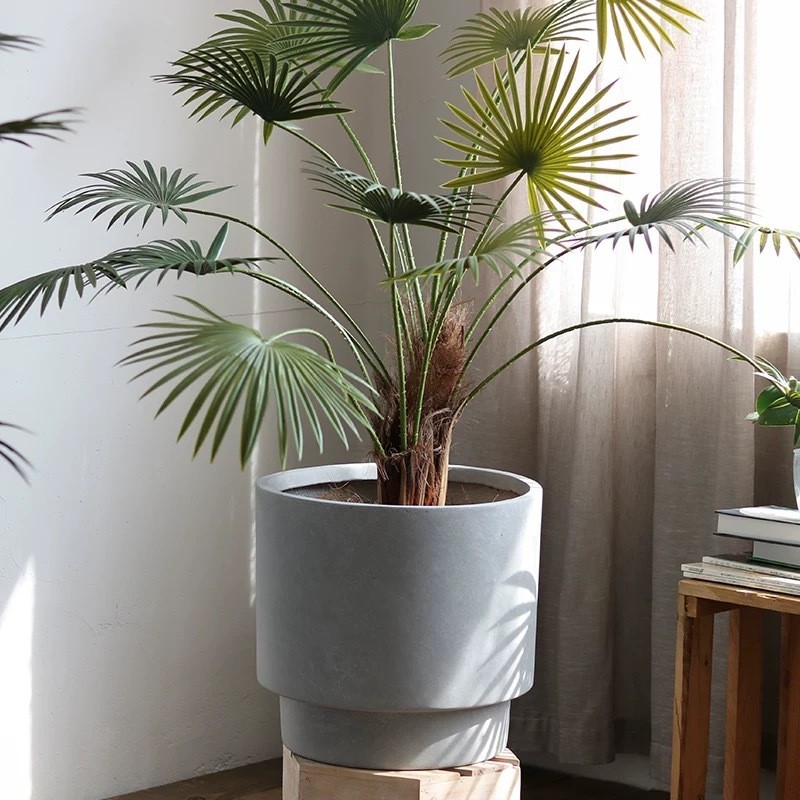
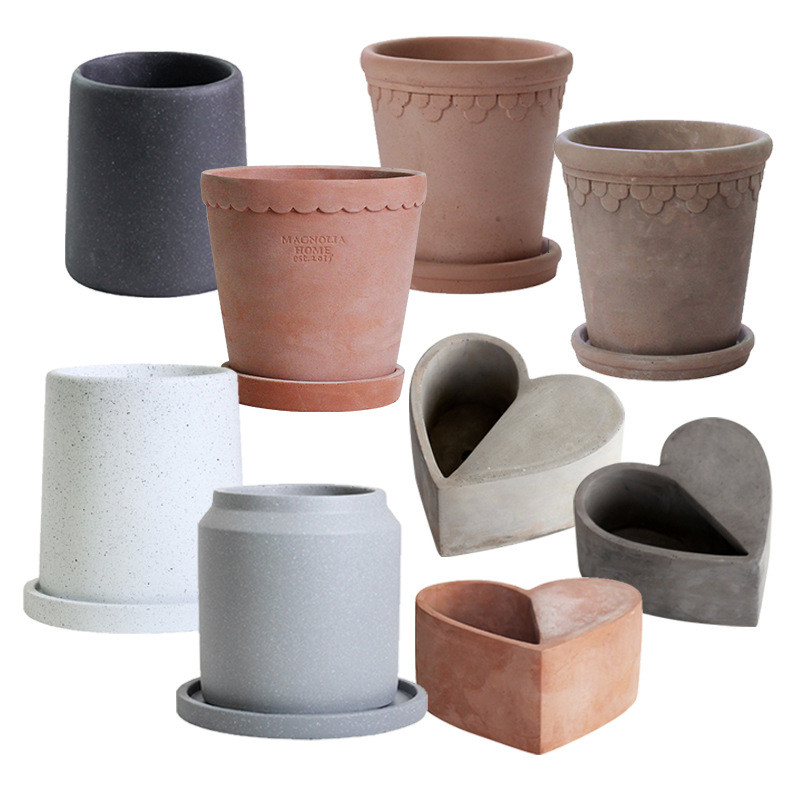
Ideal DIY projects: Small flower pots, storage boxes, decorative ornaments, and small coffee table tops. Beginners should start with simple, small items!
2. DIY Prep: Beginner-Friendly Material & Tool List
No complex equipment needed—everyday tools plus basic materials are all you require:
2.1 Core Materials (for 1 medium flower pot)
2.2 Tools (Affordable—under $20 online if you don’t have them)
• Mixing Tools: Electric mixer (for efficiency) or manual mixing stick + plastic basin
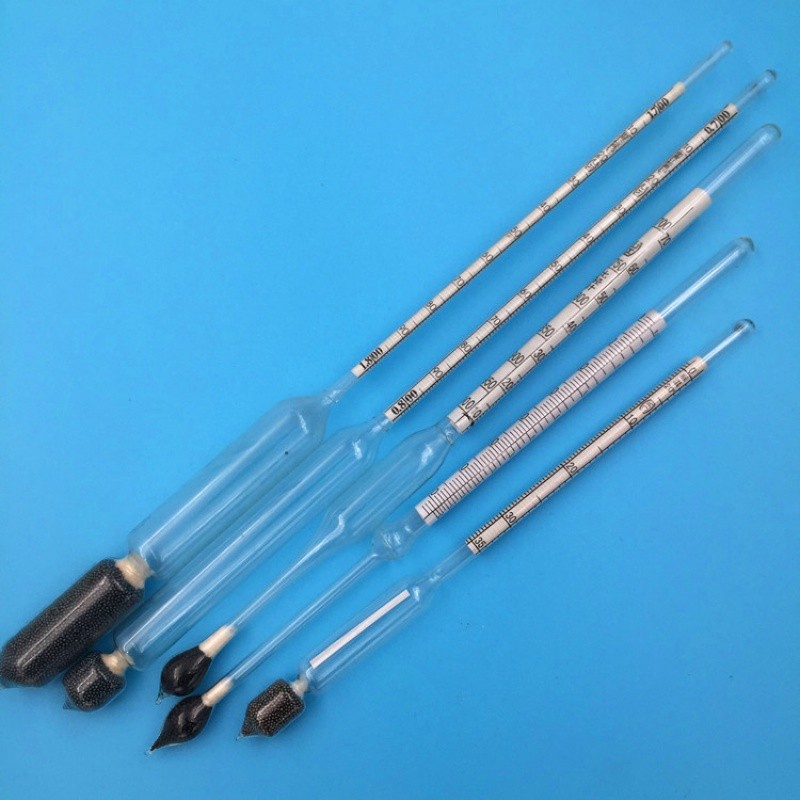
• Measuring Tools: Digital scale (accurate to 1g), Baumé hydrometer (tests magnesium chloride concentration), measuring cup
• Molds: Silicone molds (easiest for demolding, great for complex shapes), PVC molds, wooden molds (requires release agent)
• Protective Gear: Dust mask, acid/alkali-resistant gloves, safety goggles (magnesium oxide powder is dusty; magnesium chloride is slightly corrosive)
• Auxiliary Tools: Scraper (smoothes surfaces), small brush (applies release agent), sponge (retains moisture during curing)
3. Key Steps: From Mixing to Demolding (Don’t Skip Any!)
Step 1: Prepare Magnesium Chloride Solution (Key! Concentration Determines Strength)
This is critical—too high concentration causes cracking; too low leads to soft, uncured products.
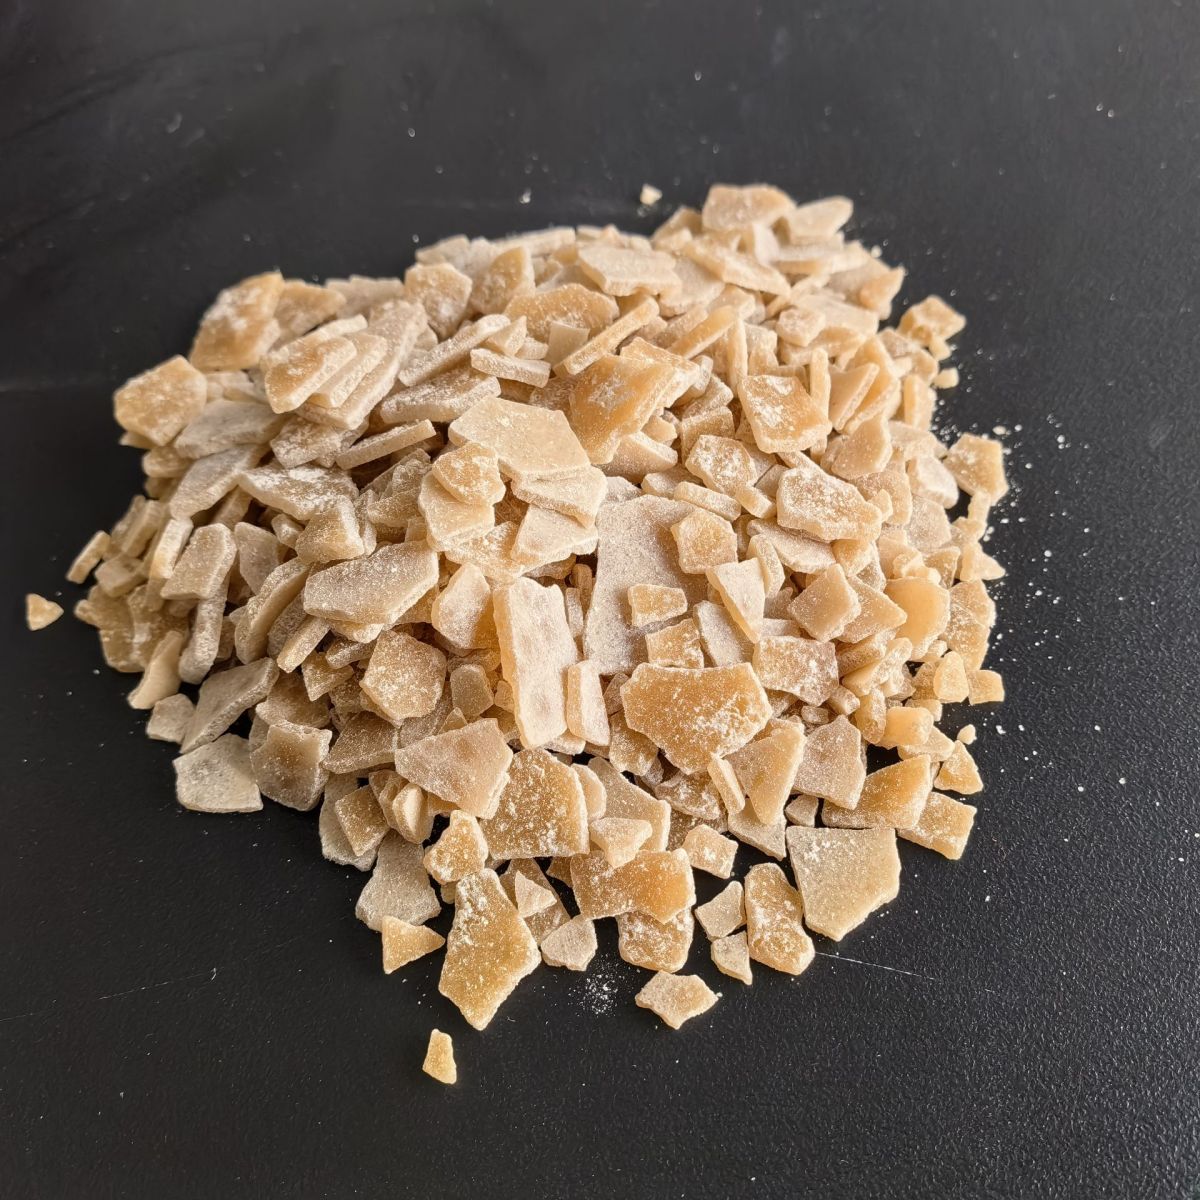
1. Crush 200g of magnesium chloride flakes and place them in a plastic basin (never metal—they corrode).
2. Add 150ml of tap water and stir until flakes fully dissolve. Control water temperature at 20-30℃ (too cold slows dissolution; too hot disrupts reactions).
3. Test concentration with a Baumé hydrometer—25-28 Baumé degrees is optimal:
◦ Too low: Add a small amount of extra flakes.
◦ Too high: Add a little water, stir, and retest until 达标.
1. For coloring: Add inorganic pigments now and stir until the color is uniform. Don’t add too much—this reduces hardness!
Step 2: Mix Magnesium Oxide Powder & Aggregate
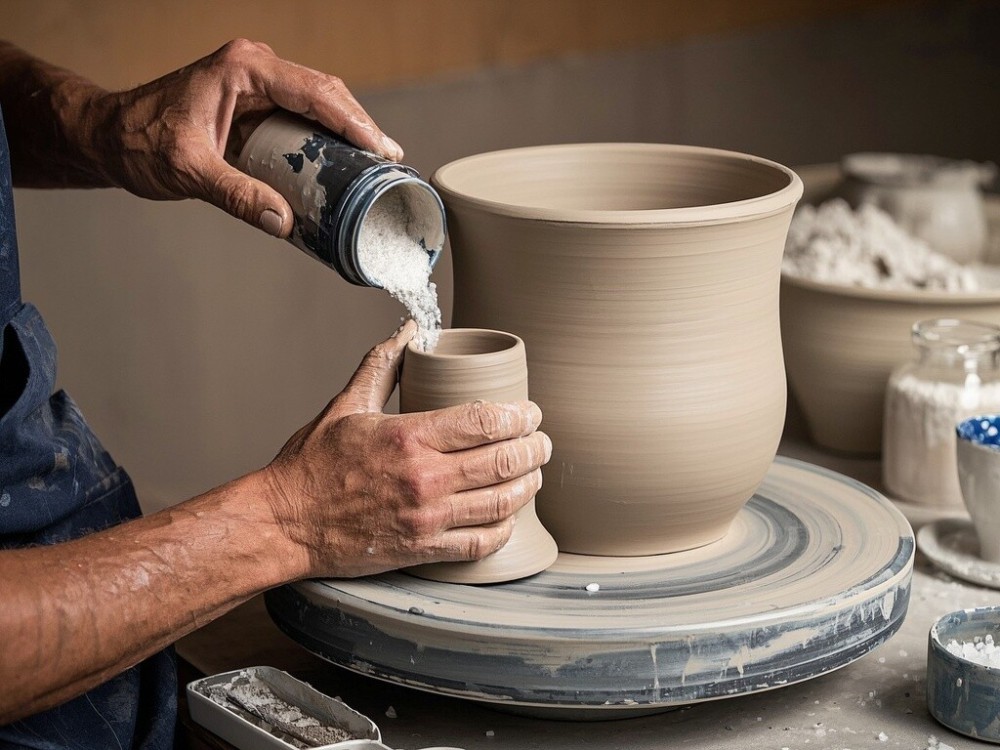
1. Weigh 500g of magnesium oxide powder and 300g of aggregate (quartz sand/vermiculite) into another plastic basin.
2. Stir them evenly with a mixing stick to avoid clumping. Crush any lumps by hand if needed.
Step 3: Mix the Slurry (Goal: No Lumps + Thick Paste Consistency)
1. Slowly pour the prepared magnesium chloride solution (with pigment, if using) into the powder-aggregate mixture—stir while pouring.
2. Mix manually for 5-8 minutes, or 1-2 minutes with an electric mixer, until the slurry meets two standards:
◦ No dry powder lumps (lumps cause rough surfaces or holes).
◦ Thick paste consistency (when lifted with a stick, it drips slowly—neither too thin nor too dry).
✅ Pro Tip: If the slurry is too dry, add ~10ml of magnesium chloride solution. If too thin, add a small amount of magnesium oxide powder—DO NOT add water!
Step 4: Pour into Molds (Removing Air Bubbles = Smooth Surfaces)
1. First, use a small brush to apply a uniform layer of release agent to the mold’s inner walls—focus on corners to prevent sticking.
2. Pour the slurry slowly into the mold, filling it to 80% capacity (prevents overflow and leaves room for shrinkage).
3. Remove air bubbles: Gently tap the mold’s sides (or flick with your fingers) to make bubbles rise and burst. For deep molds, insert chopsticks into the slurry and stir a few times to release trapped air (unremoved bubbles cause dents or holes).
4. Smooth the surface: Use a scraper to level the slurry at the mold’s top. Fill any gaps with excess slurry.
Step 5: Curing (Patience = No Cracks!)
Magnesium oxide cement doesn’t need watering—temperature control + moisture retention are key. Poor curing causes cracking!
1. Initial Setting: Place the mold in a ventilated, shaded area (optimal temperature: 15-25℃). Avoid direct sunlight or wind. Let it sit for 24 hours to partially cure.
2. Moisture Curing: After 24 hours, the surface should no longer feel sticky. Gently wipe it with a damp sponge (or wrap the mold in plastic wrap with a few air holes) to retain moisture. Wipe 1-2 times daily for 7 days.
❌ Mistakes to Avoid: Direct watering (washes away surface components); placing near air conditioners/heaters (low humidity causes cracking).
Step 6: Demolding & Post-Processing
1. After 7 days of curing: Gently pull the mold’s edges (silicone molds can be folded directly). Slowly remove the product. If stuck, use a knife to cut along the gap—don’t force it!
2. Post-Demolding Curing: Place the product in a ventilated area for another 2-3 days to boost hardness.
3. Post-Processing: Sand minor defects gently with sandpaper. For a smoother finish, apply a layer of transparent protective paint (water-based paint is best—eco-friendly).

Related knowledge forum

With over ten years of experience in the research and development of magnesia materials, we inject scientific and technological value and green connotations into your products with our full industry chain technology system and innovative solutions.
Get in Touch
Search from here……
